Make cheap, kick-butt picture frames that look like clipboards
If you are like me, you love free stuff. But if you can't get free, an inexpensive do-it-yourself project might be the next best thing, and that is just what my wife and I did over the weekend to come up with some truly nice looking picture frames that look just like clipboards.

If you are like me, you love free stuff. But if you can't get free, an inexpensive do-it-yourself project might be the next best thing, and that is just what my wife and I did over the weekend to come up with some truly nice looking picture frames that look just like clipboards.
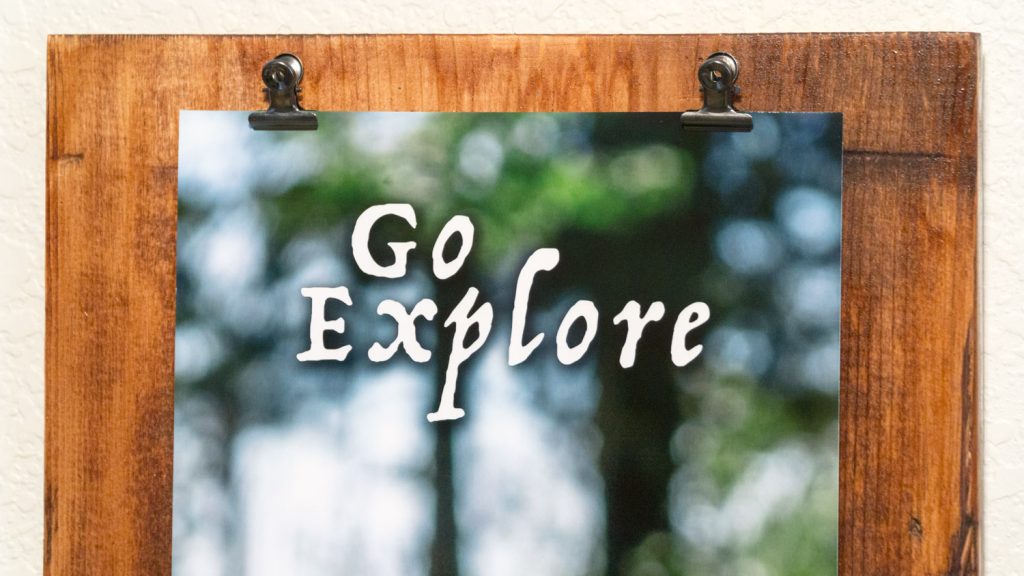
These clipboards are light-weight and easy to hang and make changing out your 8x10 pictures a snap. Cheap, too. A few bucks each gets you a unique and creative way to hang your photography.
Total cost: Including the photo, each clipboard "frame" cost about $6 bucks.
How we made these clipboards
Here are the steps that we took to make these picture frames.
Materials needed: Individually-cut pieces of wood, sanding paper (or sanding sponges), wood stain, foam staining brush, clips and framing hardware. We picked up the clips and framing hardware from Hobby Lobby. The rest of the material came from Home Depot.
1. Acquire the wood. At Home Depot, we had a long 1 x 12 piece of wood cut every 13 inches. This gave us 7 full clipboards along with a smaller piece of wood about half the size as a leftover. We also picked up some mahogany wood stain to darken the wood and create a pleasing contrast between the darker boards and lighter photographs.
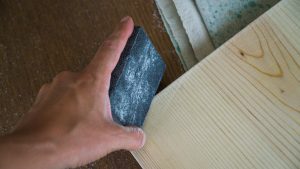
2. Sand the wood. At home, we sanded down each piece of wood, especially the corners, so each board was smooth with slightly rounded corners. We used coarse grit sanding sponges rather than traditional sanding paper because sponges make it easier to round off the corners. We also found that these sponges are just easier to hold and work with than paper.
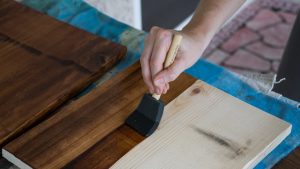
3. Stain the wood. After sanding each board, wipe the sawdust away and stain the boards using a wood stain of your choosing. We chose a mahogany wood stain to make each clipboard dark, but any stain color will work. Simply use a standard foam brush and stain each piece of wood, including the edges of the board (we did not stain the back). We only applied a single coat of stain, but multiple coats may be necessary depending on the stain color and quality of wood. If more than one coat is desired, remember to let the first coat dry before applying the second.
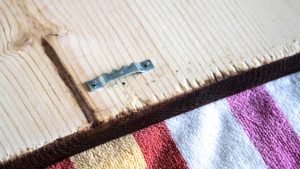
4. Attach framing hardware. After the stain is dry on each board, attach the framing hardware to the back of the frame. We used traditional framing hardware that you might use on a picture frame, but these clipboards are light enough in weight that easier-to-use two-sided tape or any other more creative hanging mechanism might also work. We attached the hardware one inch down from the top of the board, horizontally positioned in the middle.
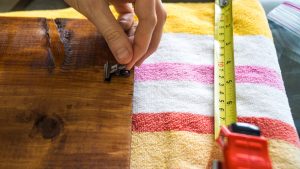
5. Attach the clips. The clips are what make these boards resemble traditional clipboards, and we used two clips for each board. We placed each clip three inches in from each side and about an inch down from the top and used super glue to attach them instead of a nail.
Please note that if we had this to do over again, we'd probably move the clips down the board a bit (perhaps two inches down instead of one). This is only personal reference. The size and style of the clips are up to you. We chose smaller black clips that seem to work well with the mahogany stain.
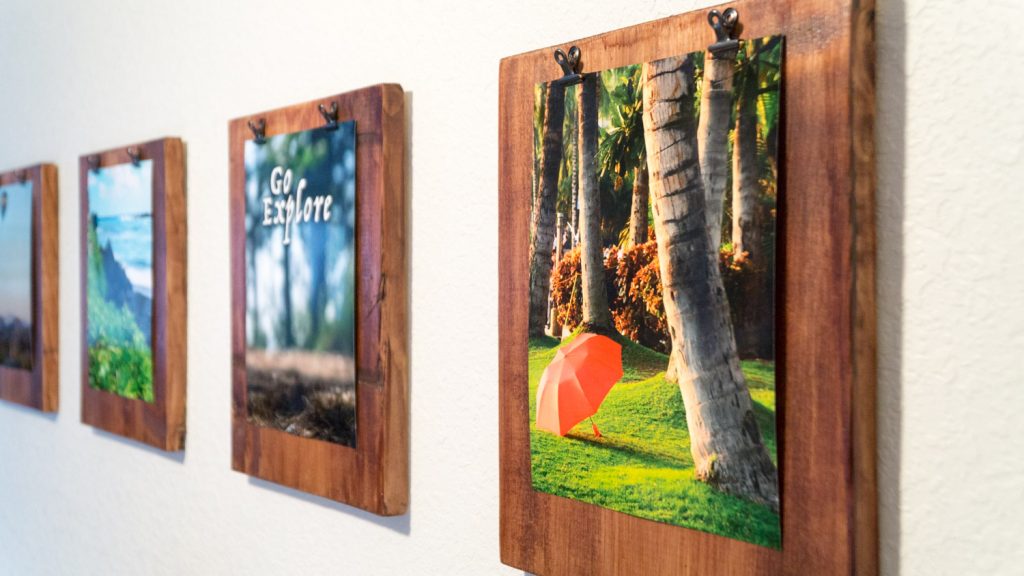
That's it! The only thing left to do is attach your photography and hang the clipboards up against your wall.
A couple last tips:
1. With a darker wood stain, choose brightly-colored photographs for the best contrast (aka: "pop!").
2. Use a piece of two-sided tape at the bottom of the photograph so the print stays positioned flush against the clipboard.